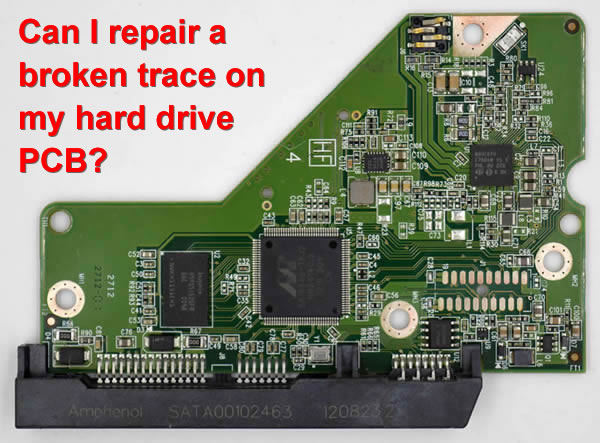
It's possible to repair a broken trace on a hard drive PCB, but it requires some technical skills and experience. Here are the general steps to repair a broken trace on a hard drive PCB:
1. Identify the location of the broken trace. Use a magnifying glass or microscope to locate the break in the trace.
2. Clean the area around the broken trace. Use a soft-bristled brush or compressed air to remove any dust or debris from the area.
3. Use a conductive adhesive or conductive ink to bridge the broken trace. Apply a small amount of adhesive or ink to the area where the trace is broken, making sure to connect the two ends of the trace.
4. Allow the adhesive or ink to dry completely. Follow the manufacturer's instructions for drying time.
5. Test the PCB to ensure that the trace repair was successful. Power on the computer and check if the hard drive is recognized by the system.
It's important to note that repairing a broken trace on a hard drive PCB can be challenging, and any mistakes made during the process can cause further damage to the hard drive and result in permanent data loss.
Therefore, it's recommended to seek professional help from a data recovery specialist who has experience in PCB repair and can perform the repair process safely and effectively.