If you're experiencing issues with your hard drive, it may be necessary to replace the printed circuit board (PCB). The PCB is responsible for controlling the motor, spindle, and read/write head of the hard drive. In this guide, we'll walk you through the steps to replace a hard drive PCB.
Step 1: Identify the Correct Replacement PCB
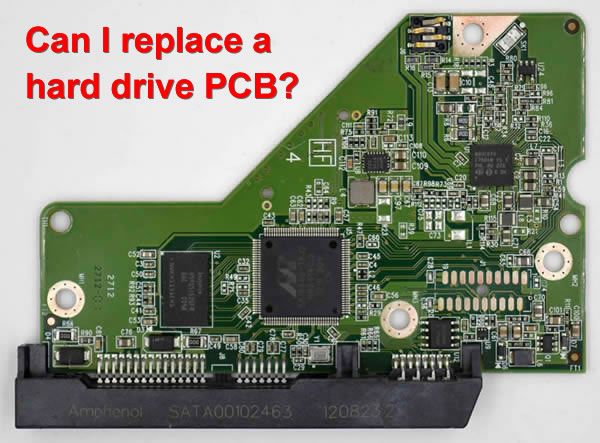
Before you can replace the PCB, you'll need to identify the correct replacement board. The PCB must be an exact match for your hard drive model and revision number (hard drive pcb replacement). You can typically find this information on the label of the hard drive or on the original PCB.
Step 2: Remove the Old PCB
To remove the old PCB, you'll need to open up the hard drive. This should only be done in a clean and dust-free environment. Once you have access to the PCB, carefully disconnect any cables or connectors that are attached to it. Then, remove any screws or mounting brackets that are holding the PCB in place.
Step 3: Install the New PCB
Once you have removed the old PCB, it's time to install the new one. Begin by attaching any cables or connectors to the new PCB. Then, carefully align the new PCB with the mounting holes and secure it in place with screws or mounting brackets.
Step 4: Test the Hard Drive
After installing the new PCB, it's important to test the hard drive to ensure that it's functioning properly. Connect the hard drive to a computer and check for any errors or issues. If everything is working correctly, you should be able to access your data as normal.
Replacing a hard drive PCB can be a complex process, so it's important to take your time and follow these steps carefully. If you're not comfortable performing this repair yourself, it's best to seek professional assistance from a data recovery specialist.