Installing a new hard drive PCB requires some technical skills and experience. Here are the general steps to install a new hard drive PCB:
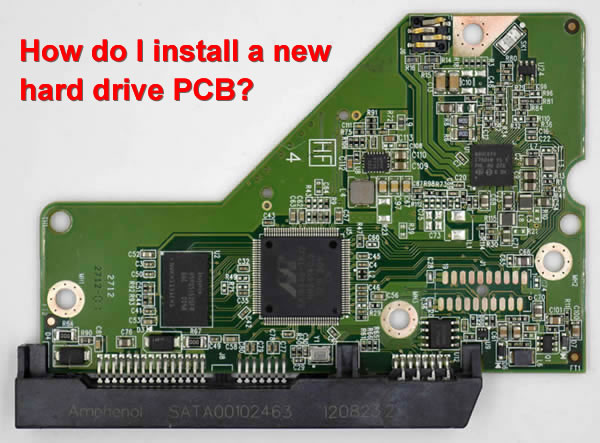
1. Obtain the correct replacement PCB (hard drive pcb replacement) for your hard drive model.
2. Attach the new PCB to the hard drive and connect any cables or connectors that are required.
3. Secure the new PCB in place with screws or clips.
4. Power on the computer and check if the hard drive is recognized by the system.
5. If the hard drive is recognized, test it to ensure that it's working properly. If the hard drive is not recognized, there may be other issues that need to be addressed.
It's important to note that installing a new PCB is just one part of the data recovery process. If the hard drive has suffered physical damage or other issues, additional repairs may be necessary, which can impact the overall success of data recovery.
Therefore, it's recommended to seek professional help from a data recovery specialist who can identify the correct replacement PCB and perform the installation process without causing further damage to the hard drive.