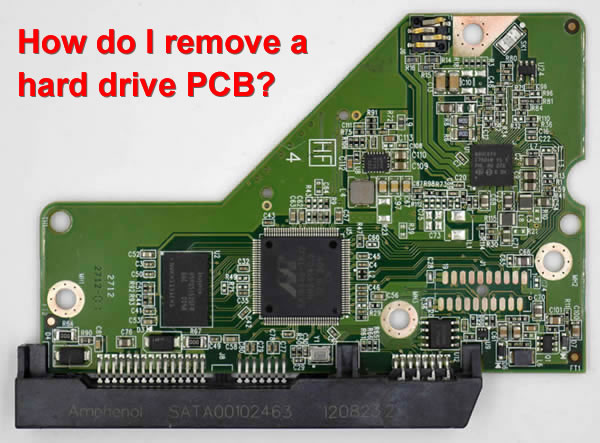
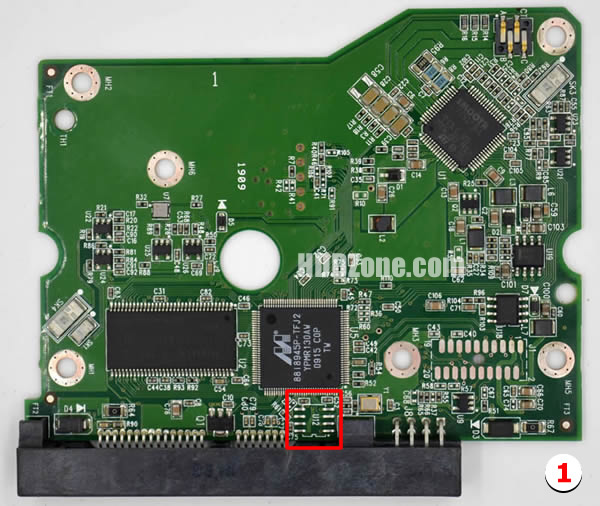
Removing a hard drive PCB requires some technical skills and experience. Here are the general steps to remove a hard drive PCB:

1. Power off the computer and unplug the hard drive from the power source.
2. Remove the hard drive from the computer case and place it on an anti-static mat.
3. Locate the PCB on the hard drive. It's usually attached to the bottom of the hard drive with screws or clips.
4. Carefully remove the screws or clips that hold the PCB in place.
5. Gently lift the PCB off the hard drive and disconnect any cables or connectors that are attached to it.
It's important to handle the PCB with care and avoid touching any of its components, as static electricity can damage the PCB. If you're not confident in your ability to remove the PCB or if you're not sure whether the PCB is responsible for the hard drive failure, it's best to seek professional help from a data recovery specialist.


