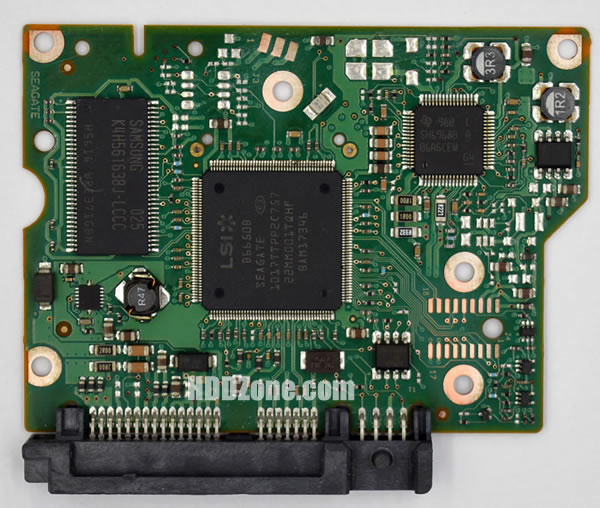
To troubleshoot a failed SATA interface on your hard drive PCB, you can follow these steps:
1. Check the cables: Ensure that the SATA cable connecting the hard drive to the motherboard is securely connected and not damaged. A loose or damaged cable can cause issues with the SATA interface.
2. Test the SATA port: Try connecting the hard drive to a different SATA port on the motherboard to see if the issue is with the port rather than the hard drive.
3. Use diagnostic software: Some hard drive diagnostic software can test the functionality of the SATA interface. Check the manufacturer's website for diagnostic software that is compatible with your hard drive.
4. Replace the PCB: If you have determined that the SATA interface has failed and cannot be repaired, you may need to replace the entire PCB (hard drive pcb replacement). Make sure to use a replacement PCB that is compatible with your hard drive's specifications.
Note: It is important to exercise caution when working with electronic components, particularly when dealing with voltage. If you are unsure or uncomfortable with performing these troubleshooting steps, it is recommended to seek assistance from a professional technician.


