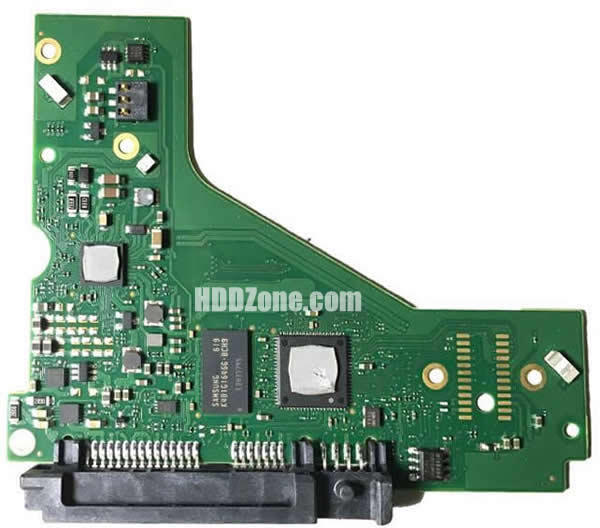
Troubleshooting failed NAND flash memory on a hard drive PCB can be difficult, as it requires specialized equipment and expertise. Here are some general steps that you can take to troubleshoot the issue:
1. Check for error messages: If your computer is displaying error messages related to the hard drive, this may indicate an issue with the NAND flash memory. Write down any error messages that you see and look for information about them online.
2. Check for physical damage: Inspect the hard drive PCB for any signs of physical damage, such as cracks or burns. Physical damage can cause issues with the NAND flash memory.
3. Use diagnostic software: Some hard drive diagnostic software can test the functionality of the NAND flash memory. Check the manufacturer's website for diagnostic software that is compatible with your hard drive.
4. Replace the PCB: If you have determined that the NAND flash memory has failed and cannot be repaired, you may need to replace the entire PCB (hard drive pcb replacement). Make sure to use a replacement PCB that is compatible with your hard drive's specifications.
Note: It is important to exercise caution when working with electronic components, particularly when dealing with voltage. If you are unsure or uncomfortable with performing these troubleshooting steps, it is recommended to seek assistance from a professional technician.


